

When you first start making bread, or doing ANYTHING new for that matter, it’s good to get a few pieces of kit that will HELP YOU right from the get go.
Starting to make bread first and THEN getting the right stuff if you “take to it” might sound like it makes sense though. After all, that way if you don’t enjoy it or find it’s not for you then you’ve not lost much. BUT if the aim here is to embrace bread making as part of your LIFE (which it is!), to effortlessly fall in love with a process that offers great results and therefore sense of satisfaction, then starting WITHOUT these basics will PROPERLY stitch you up…
I don’t use a LOT of special kit to make bread at home, far from it, but what I do use exists for three reasons:
1. To make the process easier for myself
2. To increase my chances of success
3. To therefore, allow me to enjoy what I am doing and want to do it again
Making bread WITHOUT the right stuff is like going running with the hope of loving it but WITHOUT shoes. Yes, we minimise loss if we don’t take to it, but all the while we are hurting our feet and making it impossible to enjoy the simple act of going out for a jog.
Here’s my Top 10 basic bits of essential bread making equipment that will hep you crack homemade bread once and for all:
Scales

Measuring in weight is the way to go I promise you. Measuring by volume makes zero sense, it’s not accurate and IMPOSSIBLE to measure consistently which is key when you’ll be learning something every single time you make bread.
Get some decent electric scales the go up in increments of 1g at a time and stash a spare battery in your kitchen drawer for emergencies.
Dough Scraper
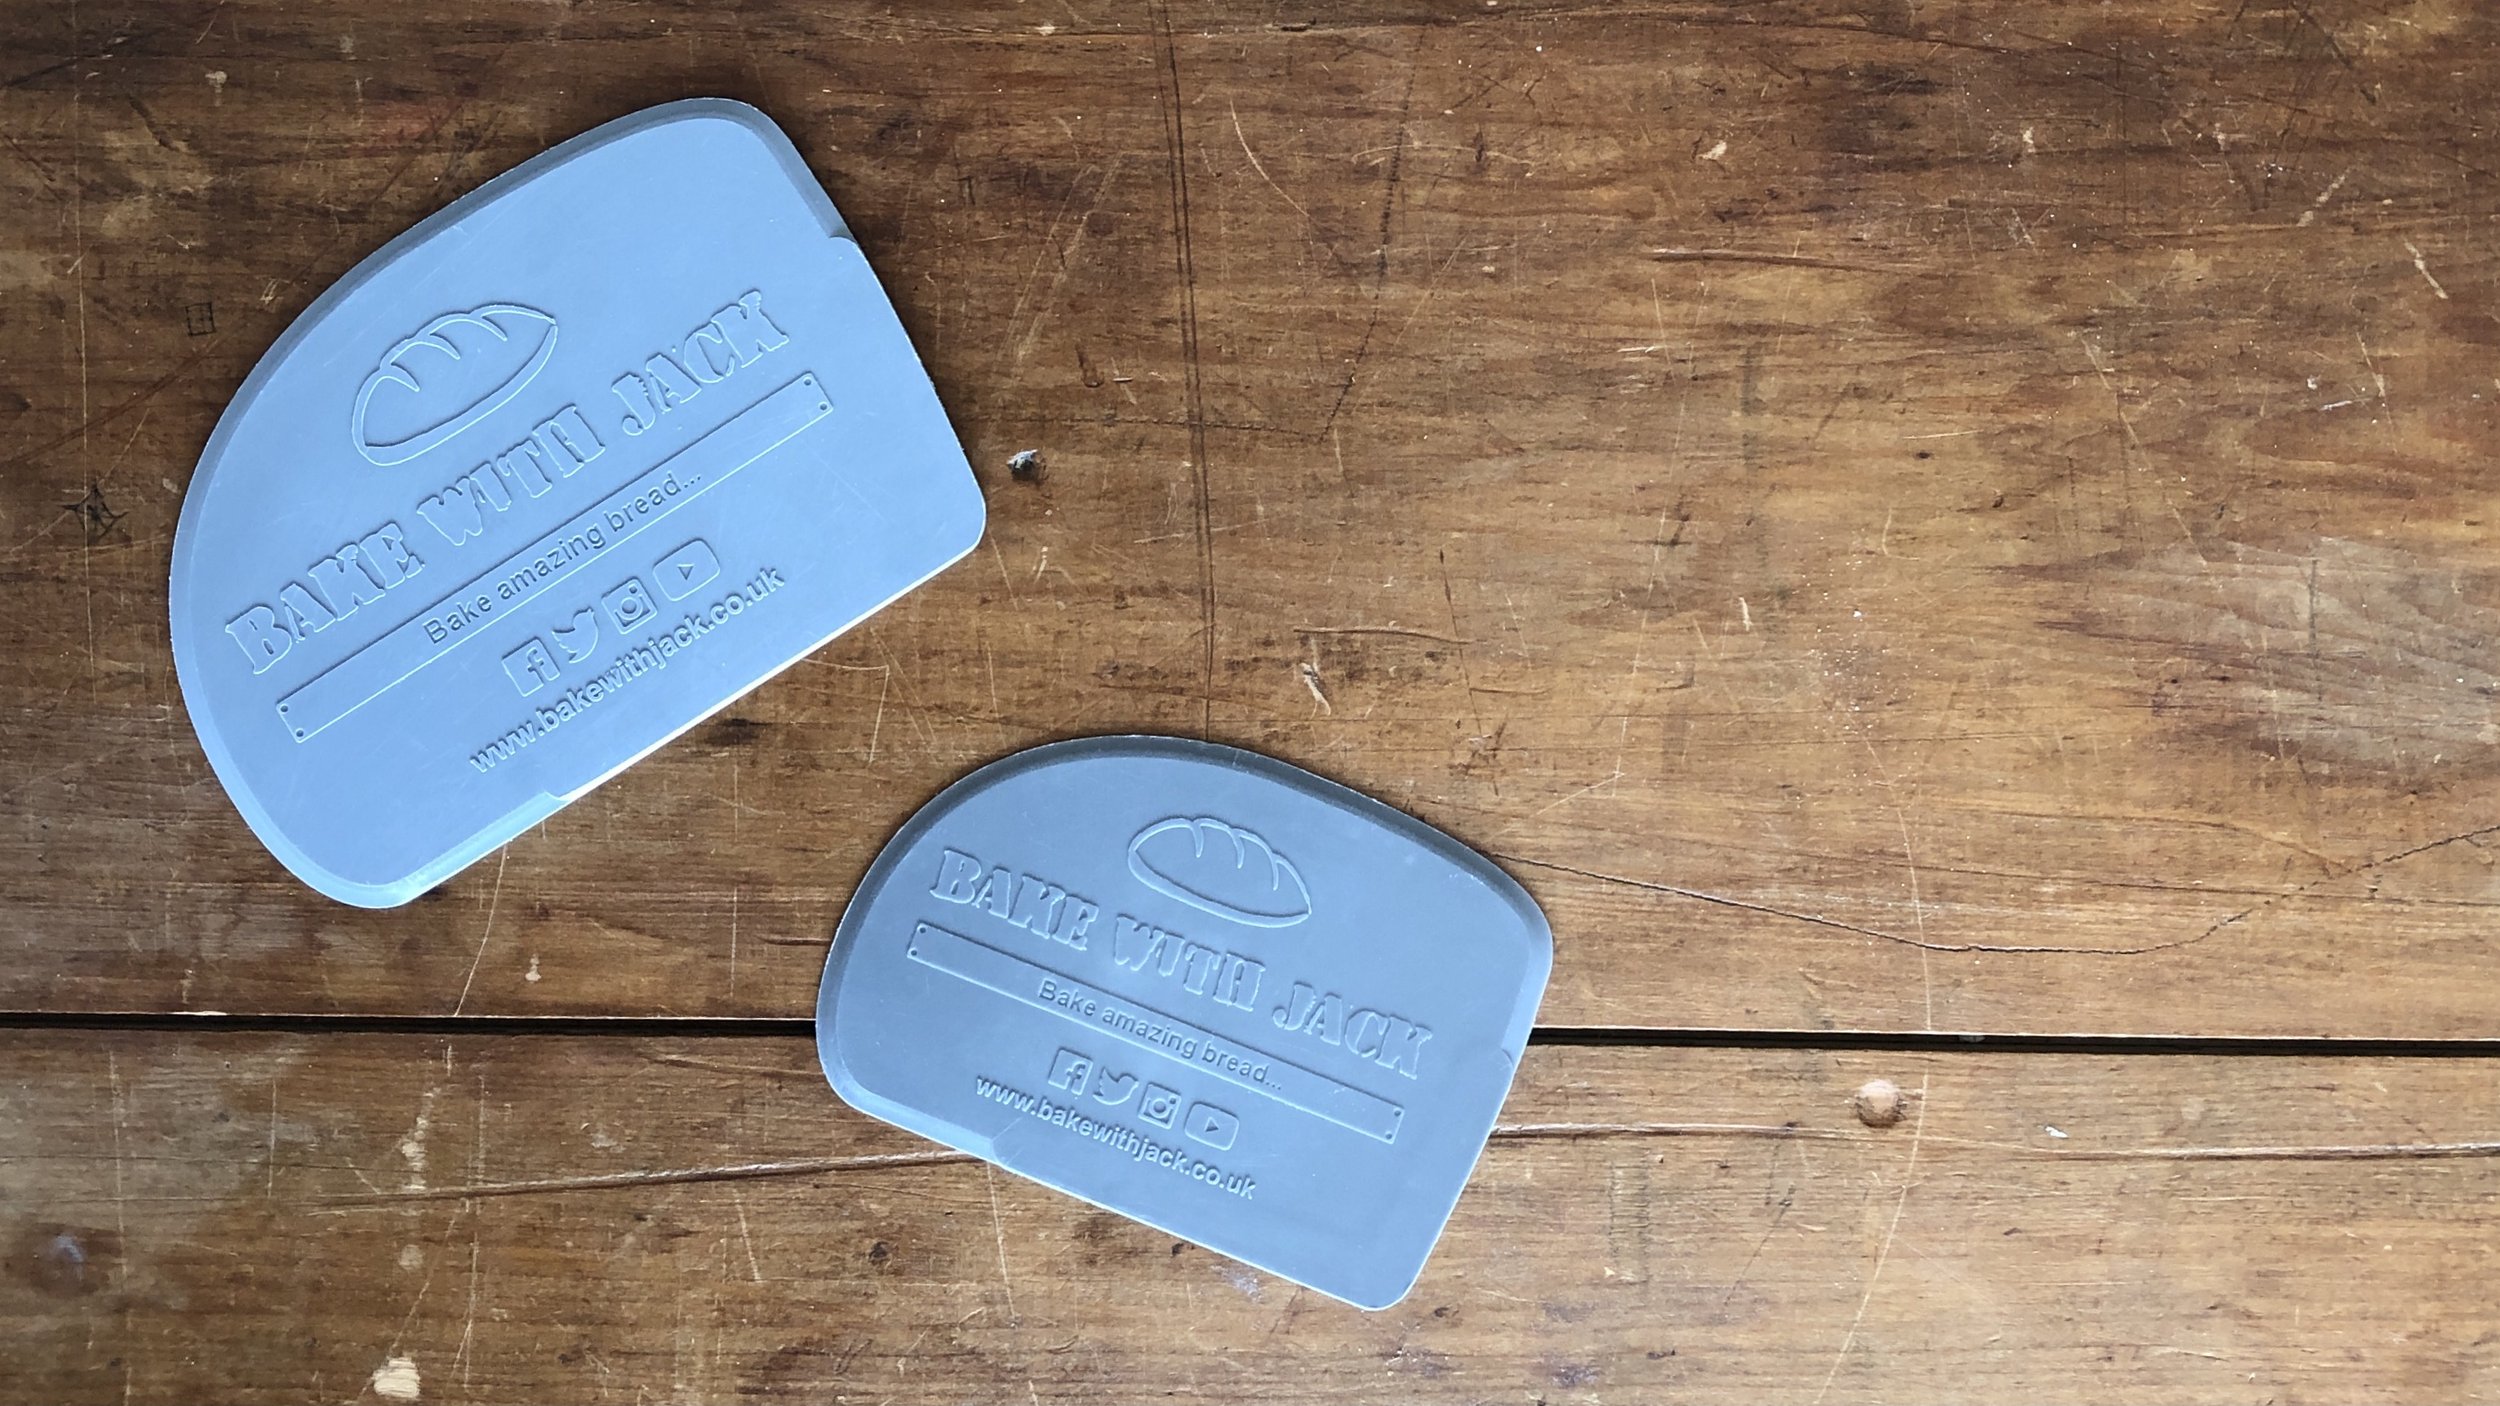
The BIGGEST mistake people make when making bread at home is to dust the table and dough with flour while they are kneading. YES it helps the dough not to stick to you or the table but really it causes more problems than it’s worth. If your dough isn’t puffing up properly or if you’re baking bricks instead of bread and you are dusting as you’re kneading that is likely the problem.
Use a dough scraper to clean up while your kneading, loosening the dough from the table, scraping from your hands, mixing, lifting, cutting, spreading, scraping every piece of dough from your bowl, cleaning the table, grouting, literally everything. THIS ONE THING will make your life so much easier.
Mixing Bowls and a Jug

A stack of LARGE bowls for getting stuck with mixing, as well as giving your dough plenty of room to PUFF up. Plastic ones are easy to clean (let the dough dry and it just flakes out!) also, although I always weigh my liquid on scales, a measuring jug is really handy to get the liquid the right temperature before measuring the quantity.
Trays and Tins
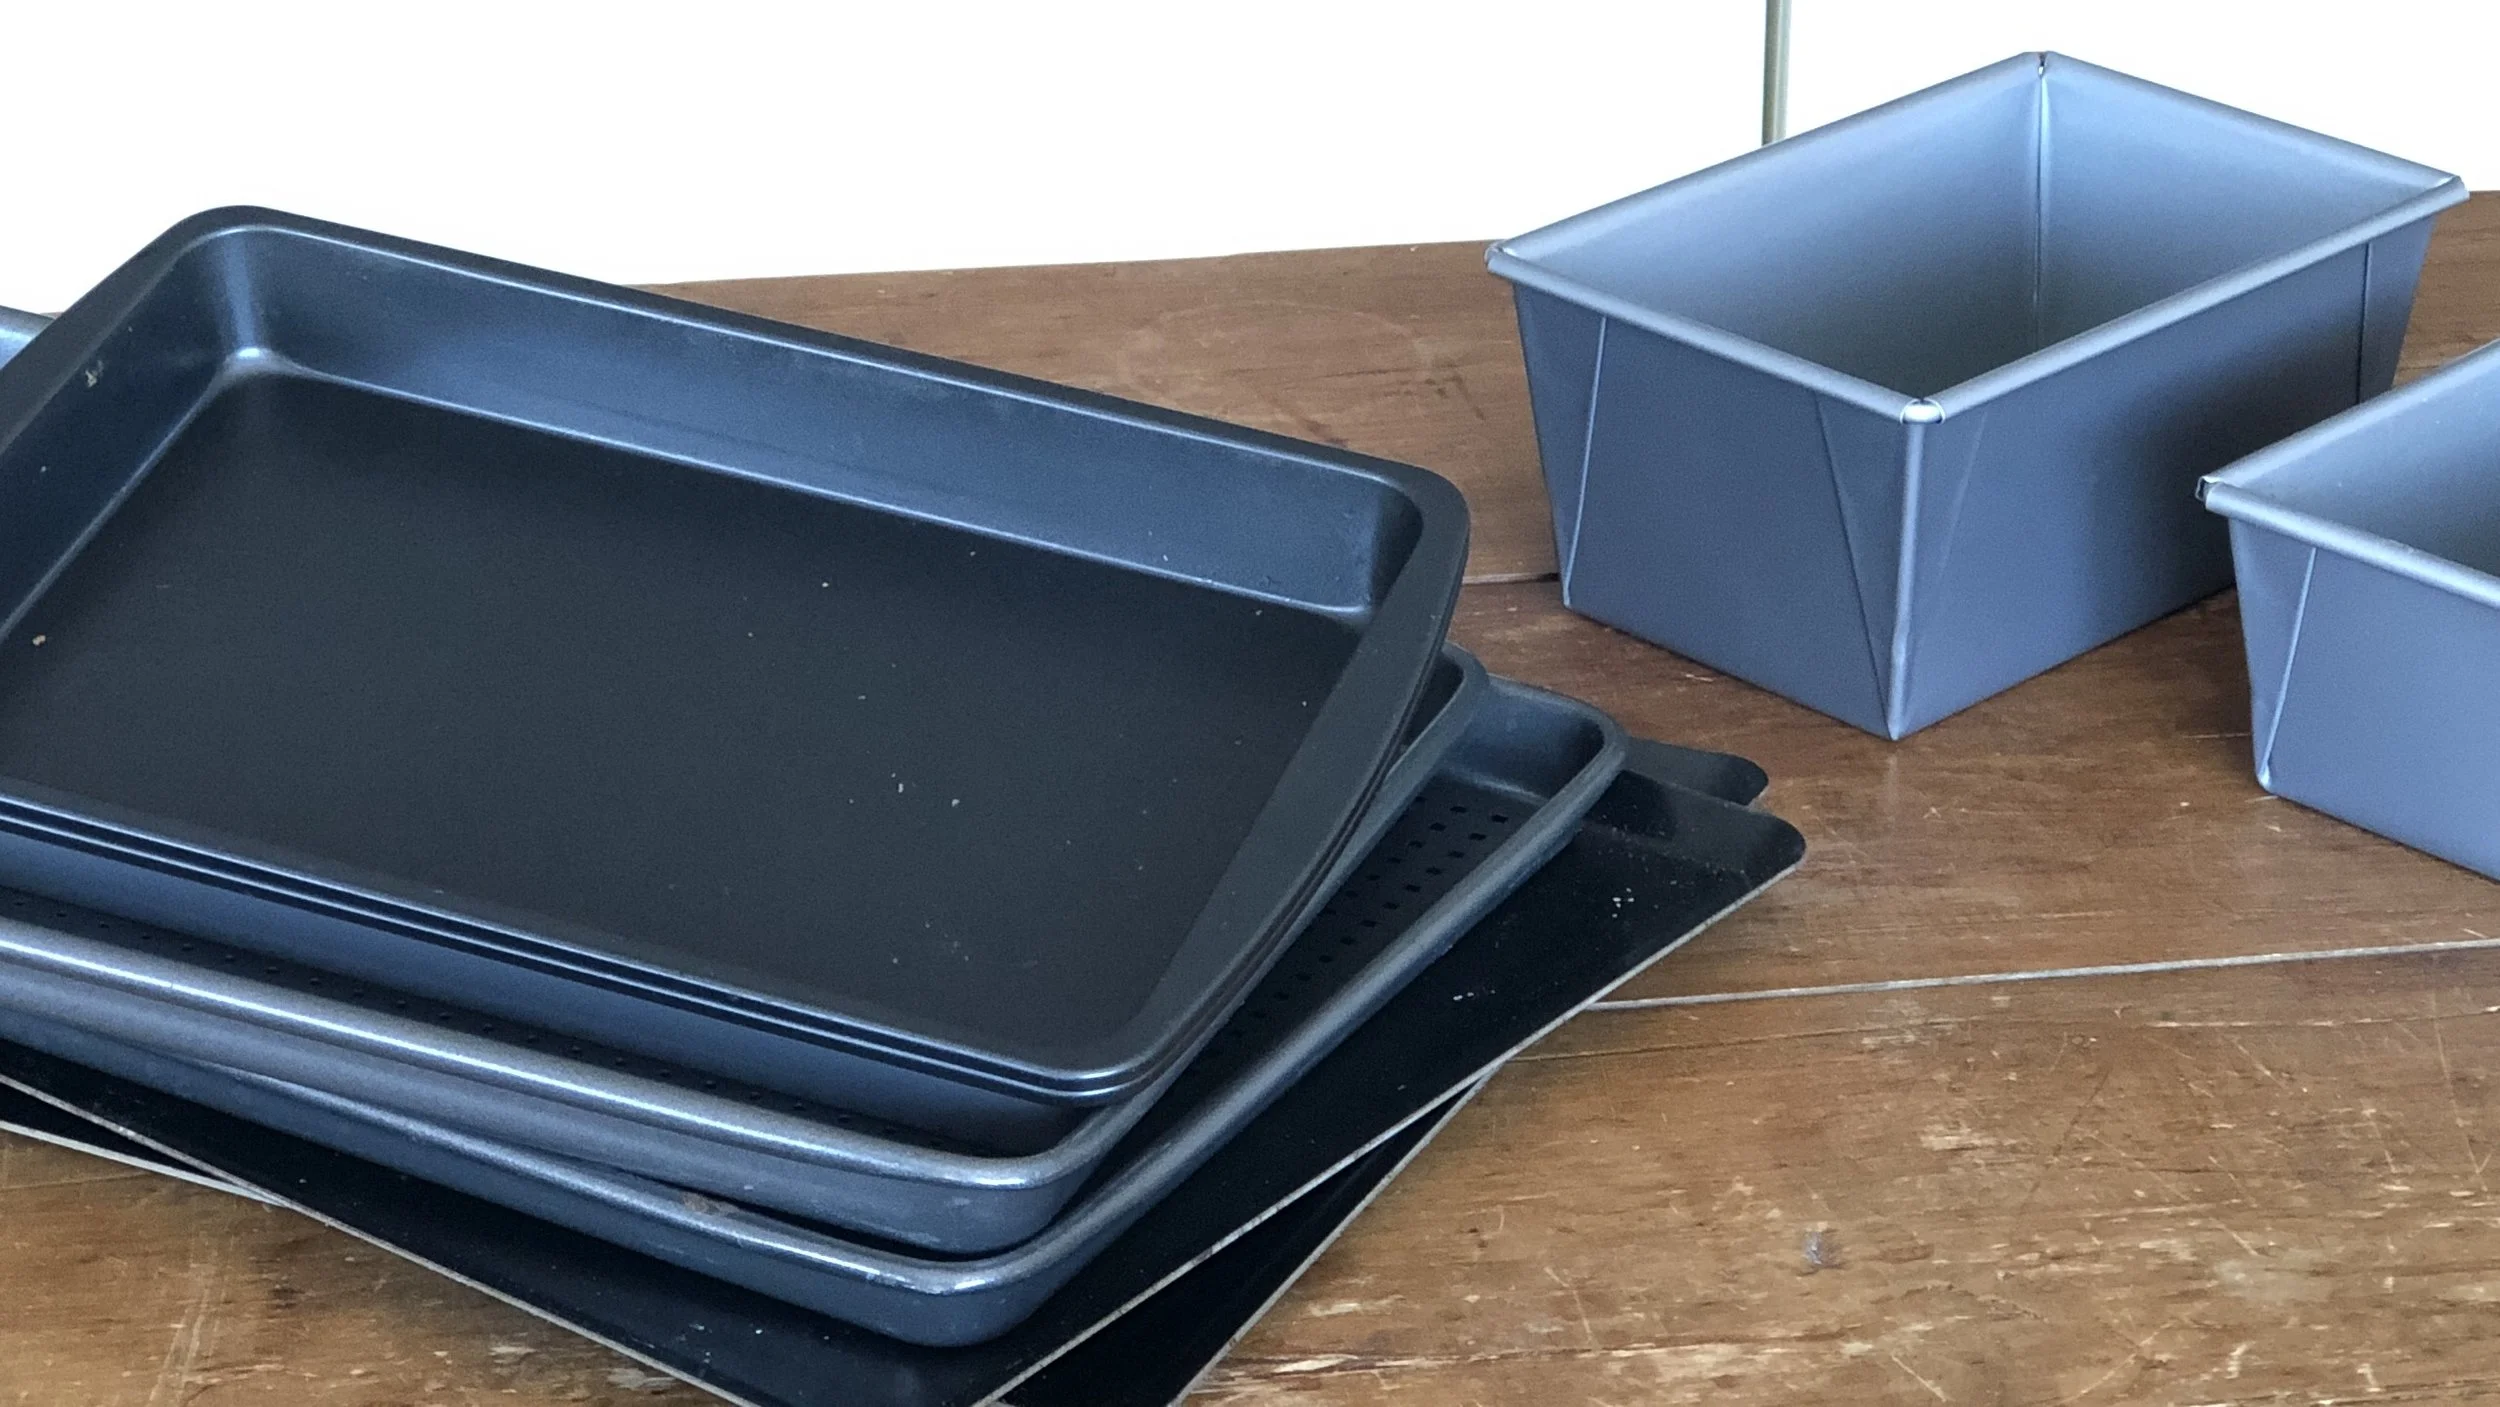
Things to bake IN and things to bake ON. I always recommend baking your first ever loaf in a tin. That way if you fluff the shaping slightly and things go a little wonky at least with support from the tin sides your bread dough will only ever puff UP! On a flat tray a big loaf might spread or sag or puff up all wonky.
When you’re beginning, keep flat trays for rolls and buns, and tins for loaves and ideally a non-stick one to avoid the PERFECT loaf being trapped inside (annoying!)
As you start getting more adventurous, you’ll start to find inspiration in all things like enamel dishes and dodgy old vintage dishes from the charity shop but for now keep it simple.
Parchment Paper

I don’t know who invented grease proof paper, I’m not even sure what it’s for!? In all the professional kitchens I’ve worked in over the years it doesn’t exist and the ONE TIME I accidentally baked a focaccia on it greaseproof, I was peeling tiny strips of paper from the base after it was baked while gently weeping into the perfectly baked crumb. Heart breaking.
Baking parchment is what you need, use it to line your trays always and tins if you like. Fold it when your done a reuse it a couple of times until it gets too crispy.
Proving Cloths
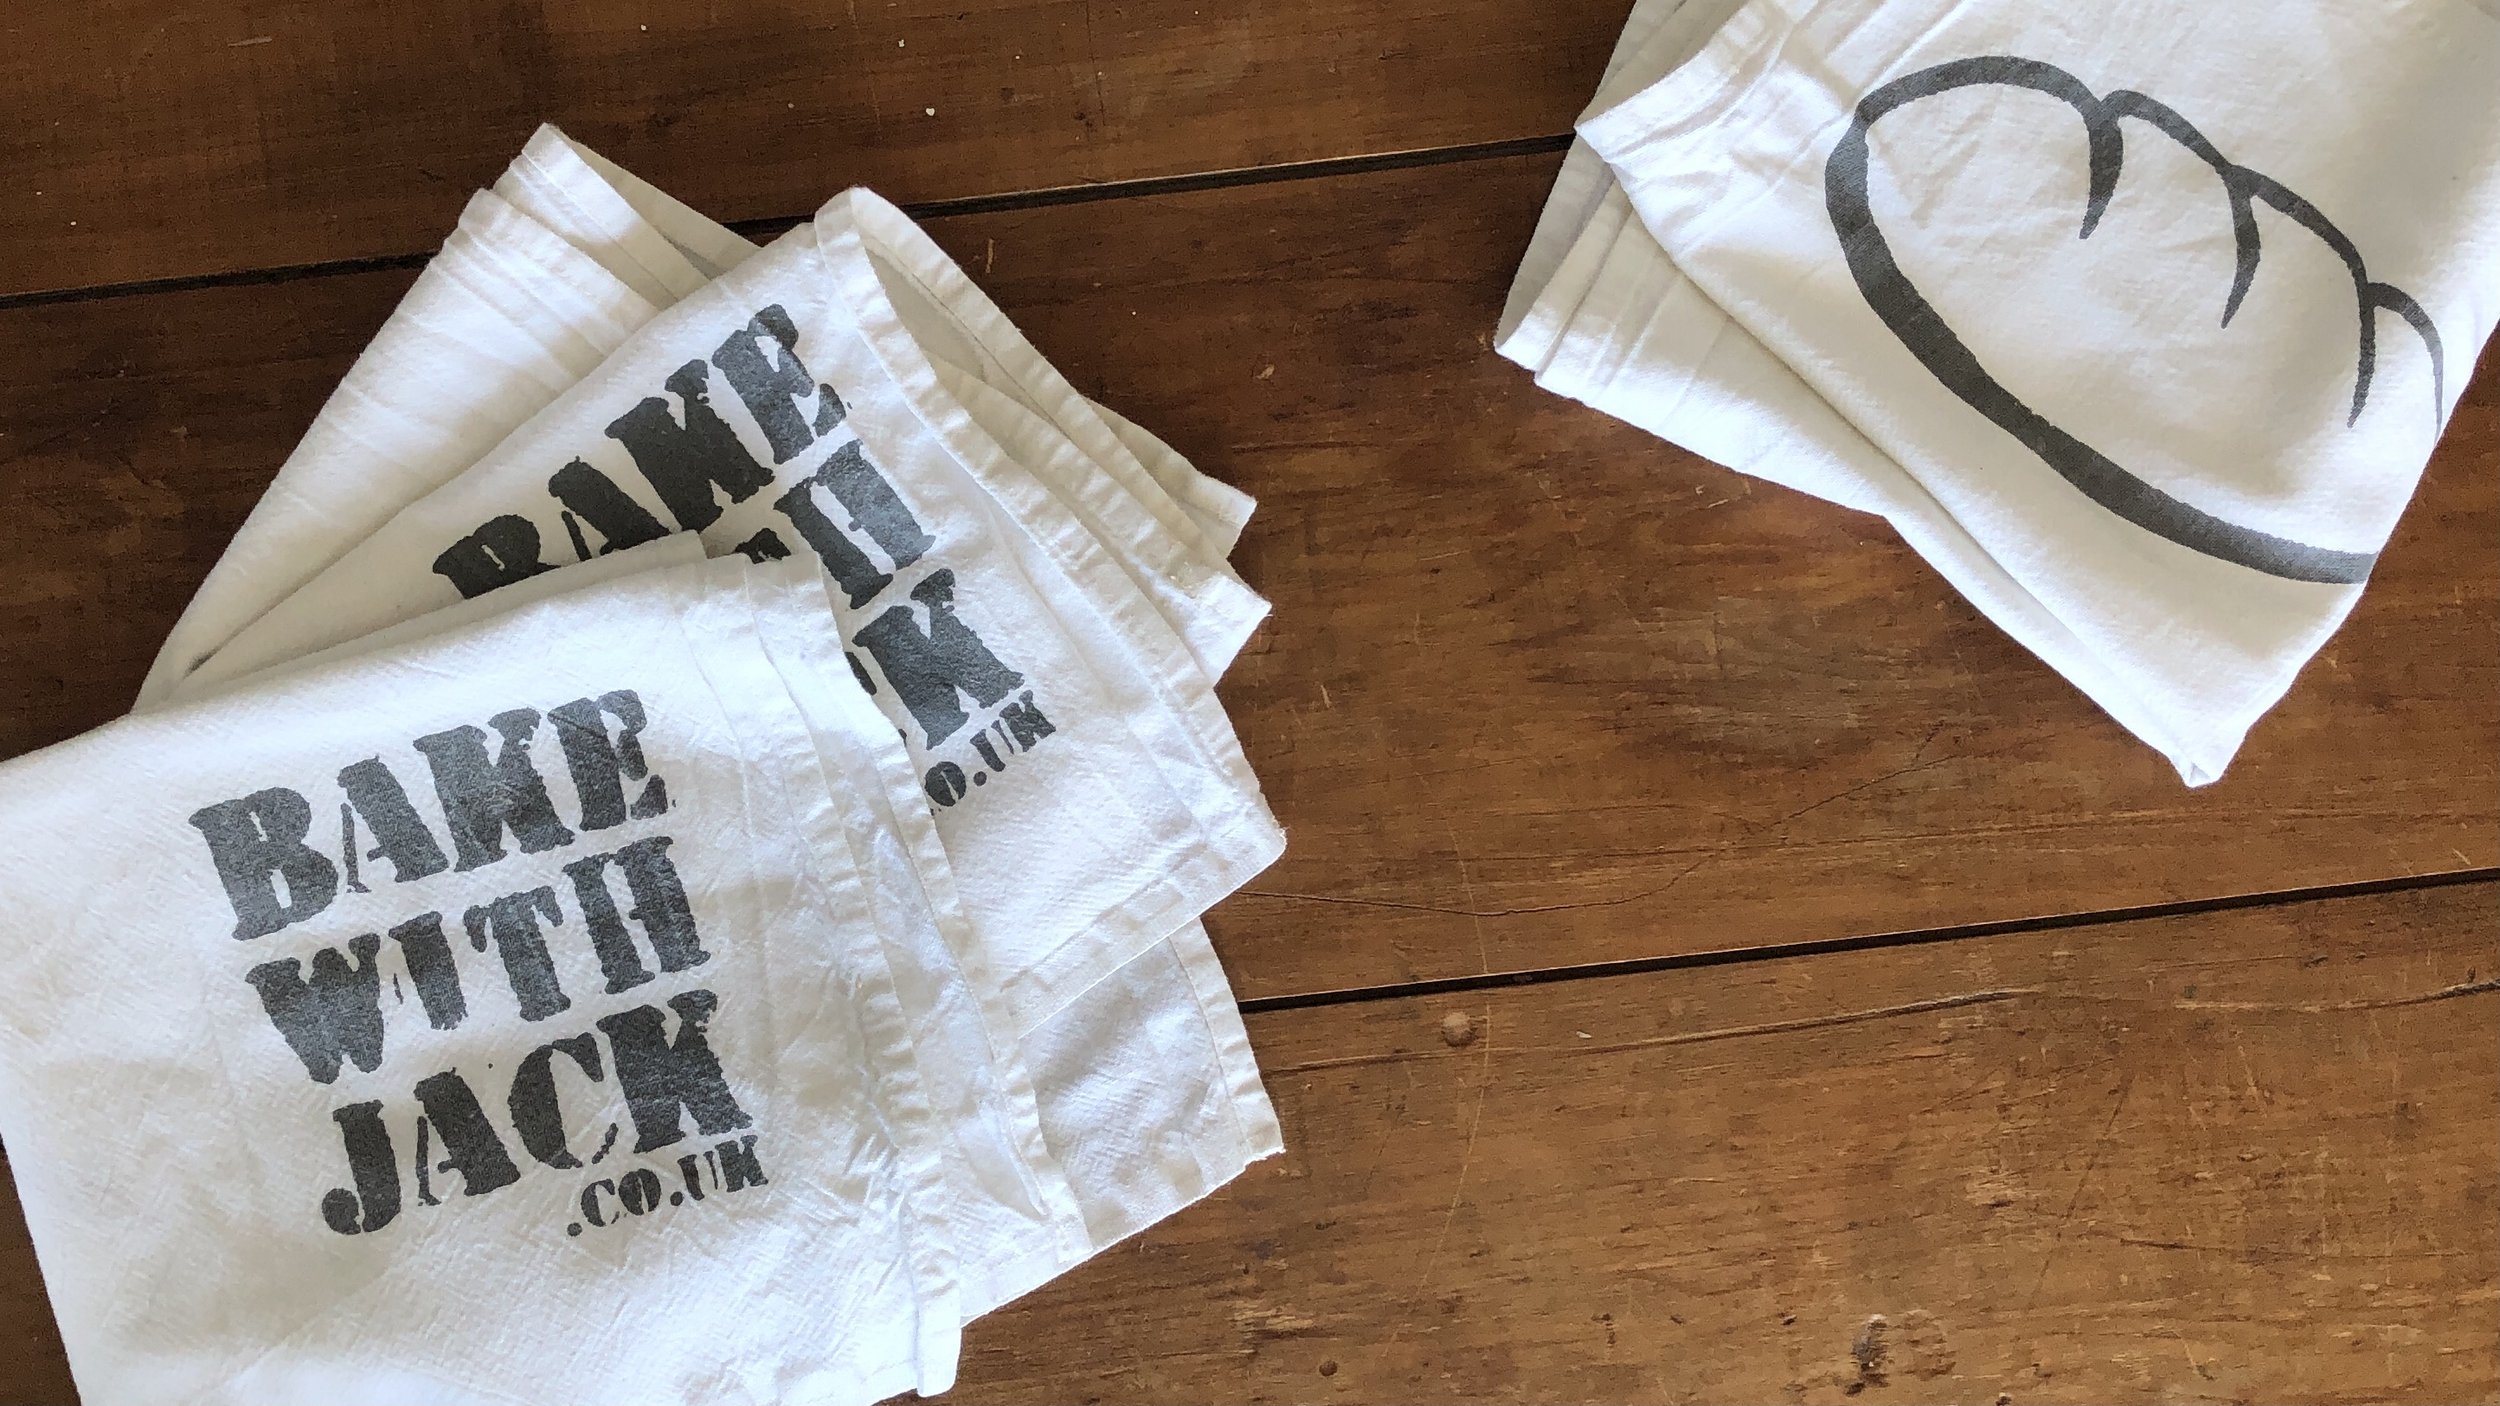
YES YOU CAN use any old tea towel to cover your resting dough with but I like to keep my bread cloths separate and fragrance free…
If you are resting your dough in a draft free place, and followed my advice making it room temperature, the top surface shouldn’t be at risk of drying out. Dust it lightly with and cover with a clean cloth and it will be fine.
I use natural cotton Bake with Jack Proving Cloths (obviously) because I like to keep them just for my bread, and I DON’T wash them with perfumed laundry detergent. If your cloths smell soapy, that smell WILL be sucked up by your dough, trust me. You only need to make a single pot pourri flavoured loaf to never want to repeat that mistake again.
Bread Knife

Once all the work is done, you’ve worked the dough, given it time to develop amazing flavour and texture, puffed your loaf to perfection, baked it AND let it cool (very important), what do you do next?
Hack it into door wedges with the closest thing to a bread knife in your drawer. Ripping, tearing, crust shrapnel EVERYWHERE.
Get a good knife, seriously, treat yourself. This is your MOMENT. This is where you flourish, carving with precision the perfect slice from the end of your loaf for that most triumphant first ever homemade bread sandwich.
And yes, you can get the one I use in the Bake with Jack Online Shop.
A Decent Book

Surely you saw that one coming didn’t you?
When embarking on your bread making journey you need a good book, not ten good books…
All bakers have their own methods, techniques, and their own “way” to make bread that they favour and champion! THAT’S OK, but sometimes they contradict one another and things can get confusing. So, pick somebody who’s recipes and methods you TRUST, someone who’s “way” resonates with you and get their book, just one.
One that is PACKED with far more than just RECIPES but also the KNOWLEDGE you need to crack amazing bread at home every time, and recipes of what you might like to eat WITH your bread so you don’t waste a SINGLE CRUMB.
One with purpose, encouraging you along on your learning journey as you get better and gain experience.
One you can refer to again and again learning something new every time you dip in.
One that is called something like “Bread Every Day.”
Small Serrated Knife

Perfect for the pre-puff slash. After shaping your loaf in a tin a few slashes with a knife like this will encourage your loaf to BLOOM as it puffs, increasing surface area allowing your loaf to reach its maximum potential puff because the puffier it gets, the fluffier the bread. Plus, it makes it look nice.
Pencil and Note Pad

Bread making really is a journey. It requires patience and it requires practice and if you do the two things I am about to mention I pretty much guarantee you’ll crack it.
Commit to making bread five times, and TAKE NOTES.
Note down how warm it is today, what recipe you are using, how long your rested it for, what it felt like before you baked it, how long you baked it and at what temperature, and MOST IMPORTANTLY what it was like in the end. Did you LIKE it? WHY?
If you really want to learn, like REALLY learn, you need to remember how things went last time. There is a reason why there is a pencil behind my ear.
Get the right kit, make notes as you go and you’ll crack it I promise.