

This loaf of bread was born from circumstance.
For me, making bread has to be practical. That’s my priority. Others may have the final product in mind, working hard to achieve a specific flavour or texture or both, tweaking recipes and timings to make that happen, organising their day around the bread and that may well be you but it isn’t me. My bread has to be “doable” and “yummy” and since homemade bread is FAR more delicious than shop bought bread by default then the second criteria is already a win. So then, I just have to do it in the first place that means it has to be practical. “Doable”. I don’t think it gets much simpler than that.
The Overnight Great White is the name I’ve given to my favourite yeasted loaf of all time. It’s my favourite because it’s a treat and it’s delicious. It comes into my life every once in a while by circumstance. Its creation was a complete accident and let me tell you how it came about before letting you know how you can recreate it at home.
In my bread making workshops there are eight of you and one of me, that’s all. It’s a nice number and makes for a lovely intimate group feel with plenty of questions and discussion which I think is so important and a lot of fun. In the Introduction class we all make a loaf of bread. When we come to bake them we can get four in one oven at a time and we have two ovens ready to go at that point of the evening. Do the maths, that’s eight loaves baking and mine doesn’t fit. I got into the habit of stashing mine in the fridge and then at the end of the night I’d take it home in the car and stash it in my fridge to bake at some point the following day and BEHOLD, the Overnight Great White was born…
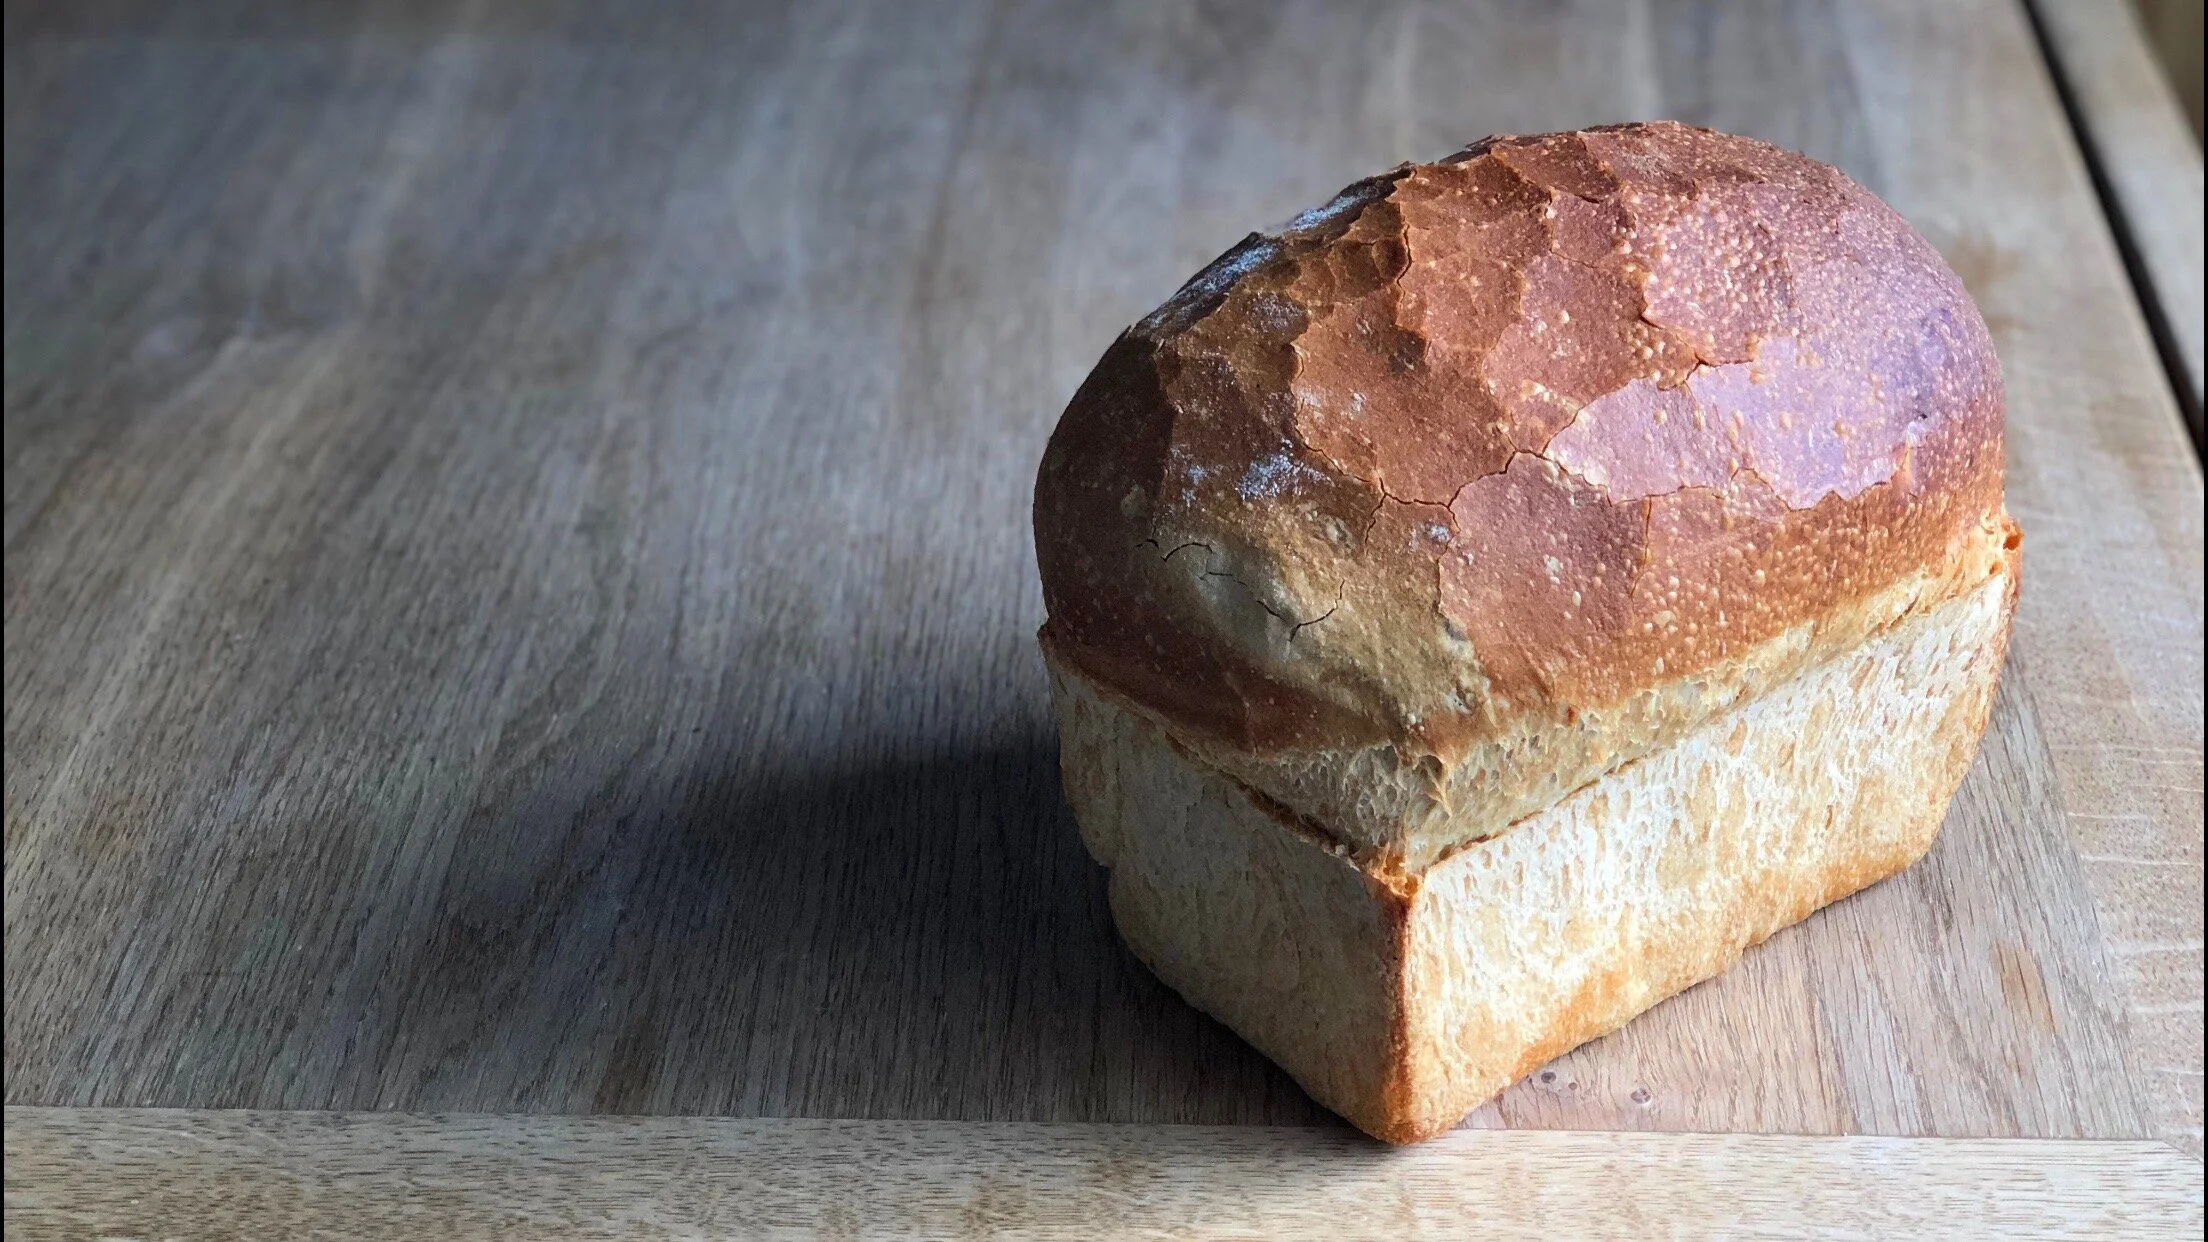
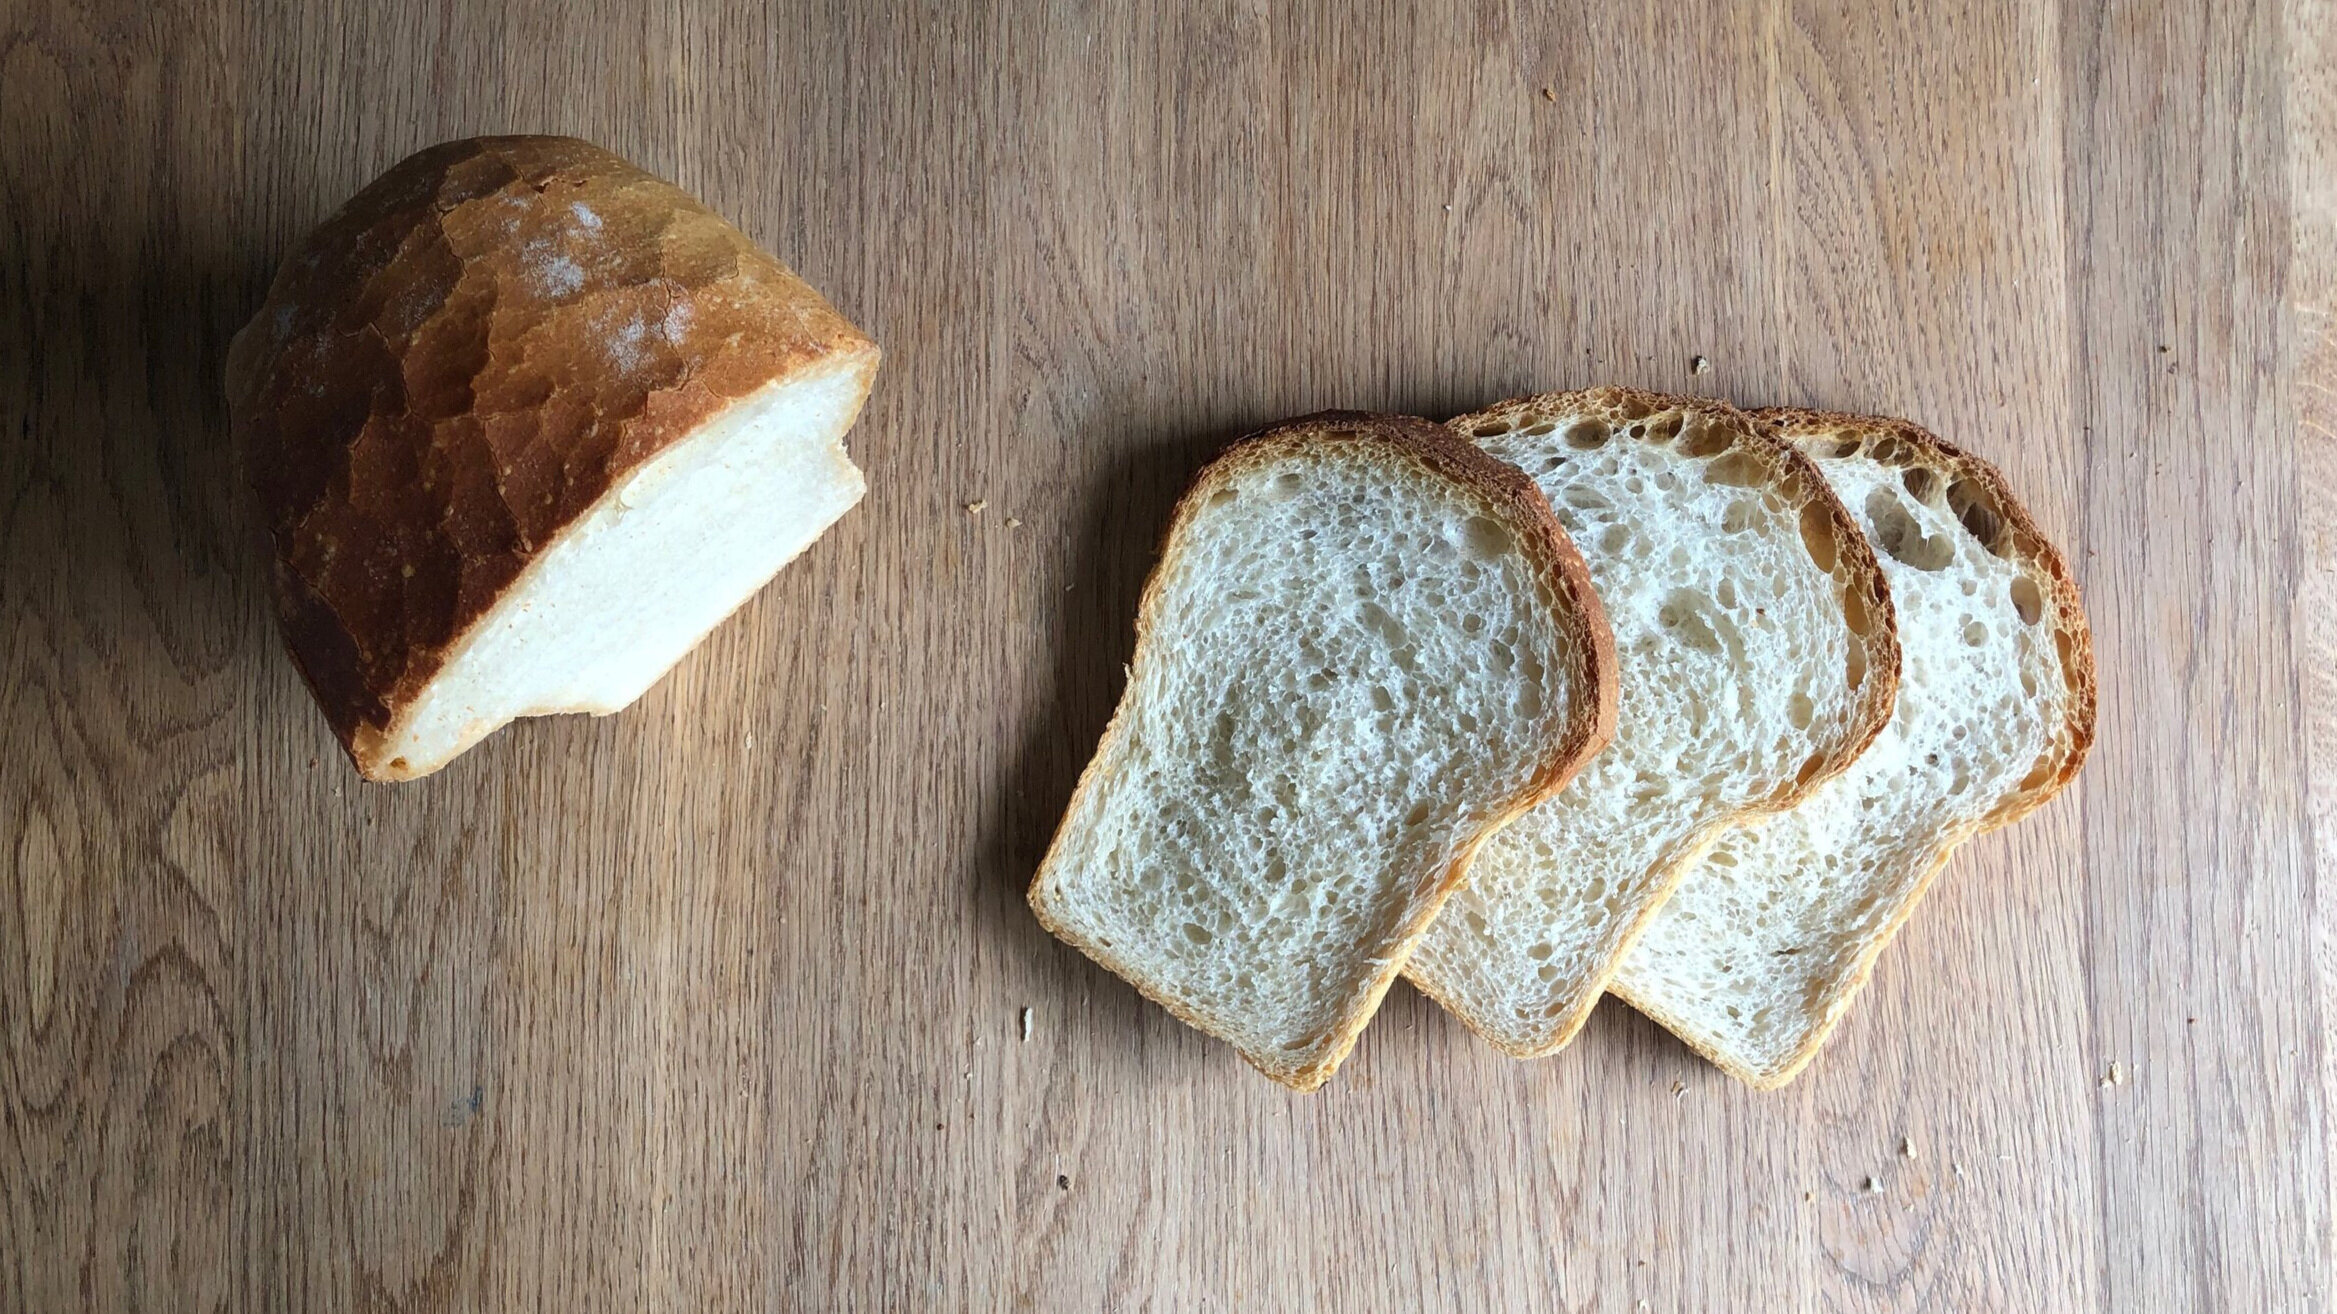
Now before you begin here’s the thing, I would never set out to do this, to make it following a recipe, it’s not in my nature. That’s just not how I function as a human being (you did read that first part right?). This loaf arrives in my life as a treat the day after an Introduction workshop and then it leaves again until next time. That’s the only time it does and when it does my goodness, it might just be the softest most delicious yeasted bread I’ve ever made. The moist, chewy, yellowish crumb. The darkened, near blackened, crackly top crust that’s almost trying to leave because the dough dried out on top overnight and it’s probably, technically “overproved”. The crunchy outside in contrast to the super soft inside makes it tricky to slice but totally worth it.
If I never set out to do this, like I said before, if I never would it begs the question “who made the bread?”. For me, dough just does what it does and I pop in and pop out to help it along the way when I can. The bread is a product of what I can do, when I can do it, that’s all. I can’t take credit for it and I won’t, I joke about it on Instagram I know but really, it wasn’t me. Credit goes to the flour, water, salt and yeast…

The Overnight Great White
Notes
Remember that this recipe (and all recipes by the way) are simply a record of what somebody did once and they were quite happy with how it turned out. Temperatures of homes a fridges vary and so see this loaf as a foundation to base your learning of the principle of the Overnight Final Proof. It won’t come out the same for us all, expect that and learn the lesson it gives us.
This recipe will make 1 Loaf in a 2lb Loaf Tin
Difficulty: Easy to make, Tricky to master
My Kitchen Temperature: 21°C/70°F
Start to finish: 18.5 hours – Don’t let this put you off!
Ingredients
340g Room temperature water
12g Fresh yeast or 7g dry yeast
500g Strong white bread flour
8g Salt
Method
Making the Dough
1. In a large mixing bowl weigh your yeast, add the water and mix together until the yeast is dissolved.
2. Next add the flour and salt.
3. Mix everything with your dough scraper until it comes together into a rough dough and then turn it out onto a clean table. Knead your dough well for 8 minutes. Then, shape it into a ball, place it back into the bowl to rest with a cloth on top for 1 ½ - 2 hours.
Pre-shaping
4. Use your dough scraper to turn the dough out onto a lightly dusted table. Make sure the dough comes out of the bowl upside down, sicky side up.
5. Use your fingertips lightly to flatten the dough just enough to make the next part easy. With finger and thumb pick up an edge of the dough furthest from you, lift it, and fold it over the dough almost to the other side. Then turn the dough slightly and do the same. Keep turning and folding, working your way round the dough enough times to end up with a bouncy ball of dough. All the seams and joins should end up on one side, and the underside should be smooth and tight. Roll it over bringing the smooth side to the top, dust lightly with flour and rest on the table under a proving cloth for 15 minutes.
6. Lightly grease a 2lb loaf tin with oil or butter.

Get Loaf Tins like mine
Shaping
7. Remove the cloth from the top of your dough. The ball of dough should have relaxed and spread slightly. Slide your dough scraper underneath to unstick it from the table and flip upside down onto a lightly dusted surface.
8. Press once again, this time firmly, with fingertips and knuckles to push the dough flat into a circle. Slide your fingers, palms up, underneath each side of the dough. Grip the dough and pull to stretch the dough sideways. At an angle fold one side two thirds of the way over the dough and the other side the same so that it ends up overlapping the first fold and you have a kind of capitol A shape. Then roll the dough from the pointy edge towards you into a tight sausage. Squeeze up the seam to stick together.
9. Drop your loaf into it’s tin seam side down and place directly in the fridge uncovered.
Final Proof
10. This part is up to you, it’s completely trial and error on your part but don’t be afraid of it. I leave my loaf in the fridge for between 14 and 16 hours at this point. Your loaf will tick over nicely overnight, puffing up slowly. The speed of the puff depends firstly on the temperature of the dough in the beginning and the temperature of the fridge.
Baking
11. Preheat your oven to 190°C Fan/374°F/Gas Mark 6 with a deep tray on the bottom shelf. Boil half a kettle of water.
12. Take a look at your loaf, if it’s puffy like mine you can bake it straight from the fridge. If it’s looking a little sad or you think it can go a little further, leave it out on the side for a while until the oven preheats to give it a booster, or longer if you need to.
13. When you’re ready load your bread into the oven, tip the hot water into the tray beneath (be careful!) and close the oven door.
14. Bake your loaf for 40 minutes at it will take on some good colour on the top crust. When it is done pop it out of the tin and feel the underside. Mine is normally ok because I bake everything on a stone, but if your loaf soft and steamy underneath, return it to the oven without the tin for a further 5-10 minutes.
15. Allow to cool completely on a wire rack before slicing carefully for an EPIC sandwich ;-)