

If Sourdough Bread wasn’t challenging enough, incorporating wholemeal flour makes things even trickier. The bran in the flour means that, gram for gram, there is less gluten in our dough. That means it won’t puff up AS BIG, and it will become delicate sooner in the process. NOT ONLY THAT but I find dough made with wholemeal flour ferments FASTER too. All this means less time from mixing to stashing in the fridge, and more frequent stretching and folding. Easy peasy.
This recipe here is 50/50. Half wholemeal flour half strong white. It makes a loaf with tons of wholemeal goodness while retaining its lightness and making it easier to handle. If you like the thought of 100% wholemeal sourdough my advice would be; work your way up to it. Try this and next time up the quantity of wholemeal flour a little to see how you get on.
Expect a finer crumb texture, a heart and wholesome bread with a crispy crust.

Just like your standard Beginners Sourdough Loaf, this one is also a three day process (don’t be put off); Day 1 feed your starter, Day 2 make your dough, Day three pop it in the oven.
You can stone bake this if you like or bake it in a dutch oven if that’s your cup of tea. Instructions for both are below.
Also I’ve included a quick time guide for you below to give you an idea of how much time you actually NEED and when you need to be around. I hope it’s helpful.

Wholemeal Sourdough Loaf
Notes
This recipe will make one sourdough loaf however, I always make at least two. It’s a long process so you might as well. You’ll get more practice and more to eat and you can always freeze one if you need to.
To make two loaves double the recipe, follow the same method, and divide the dough into two at the pre-shape stage.
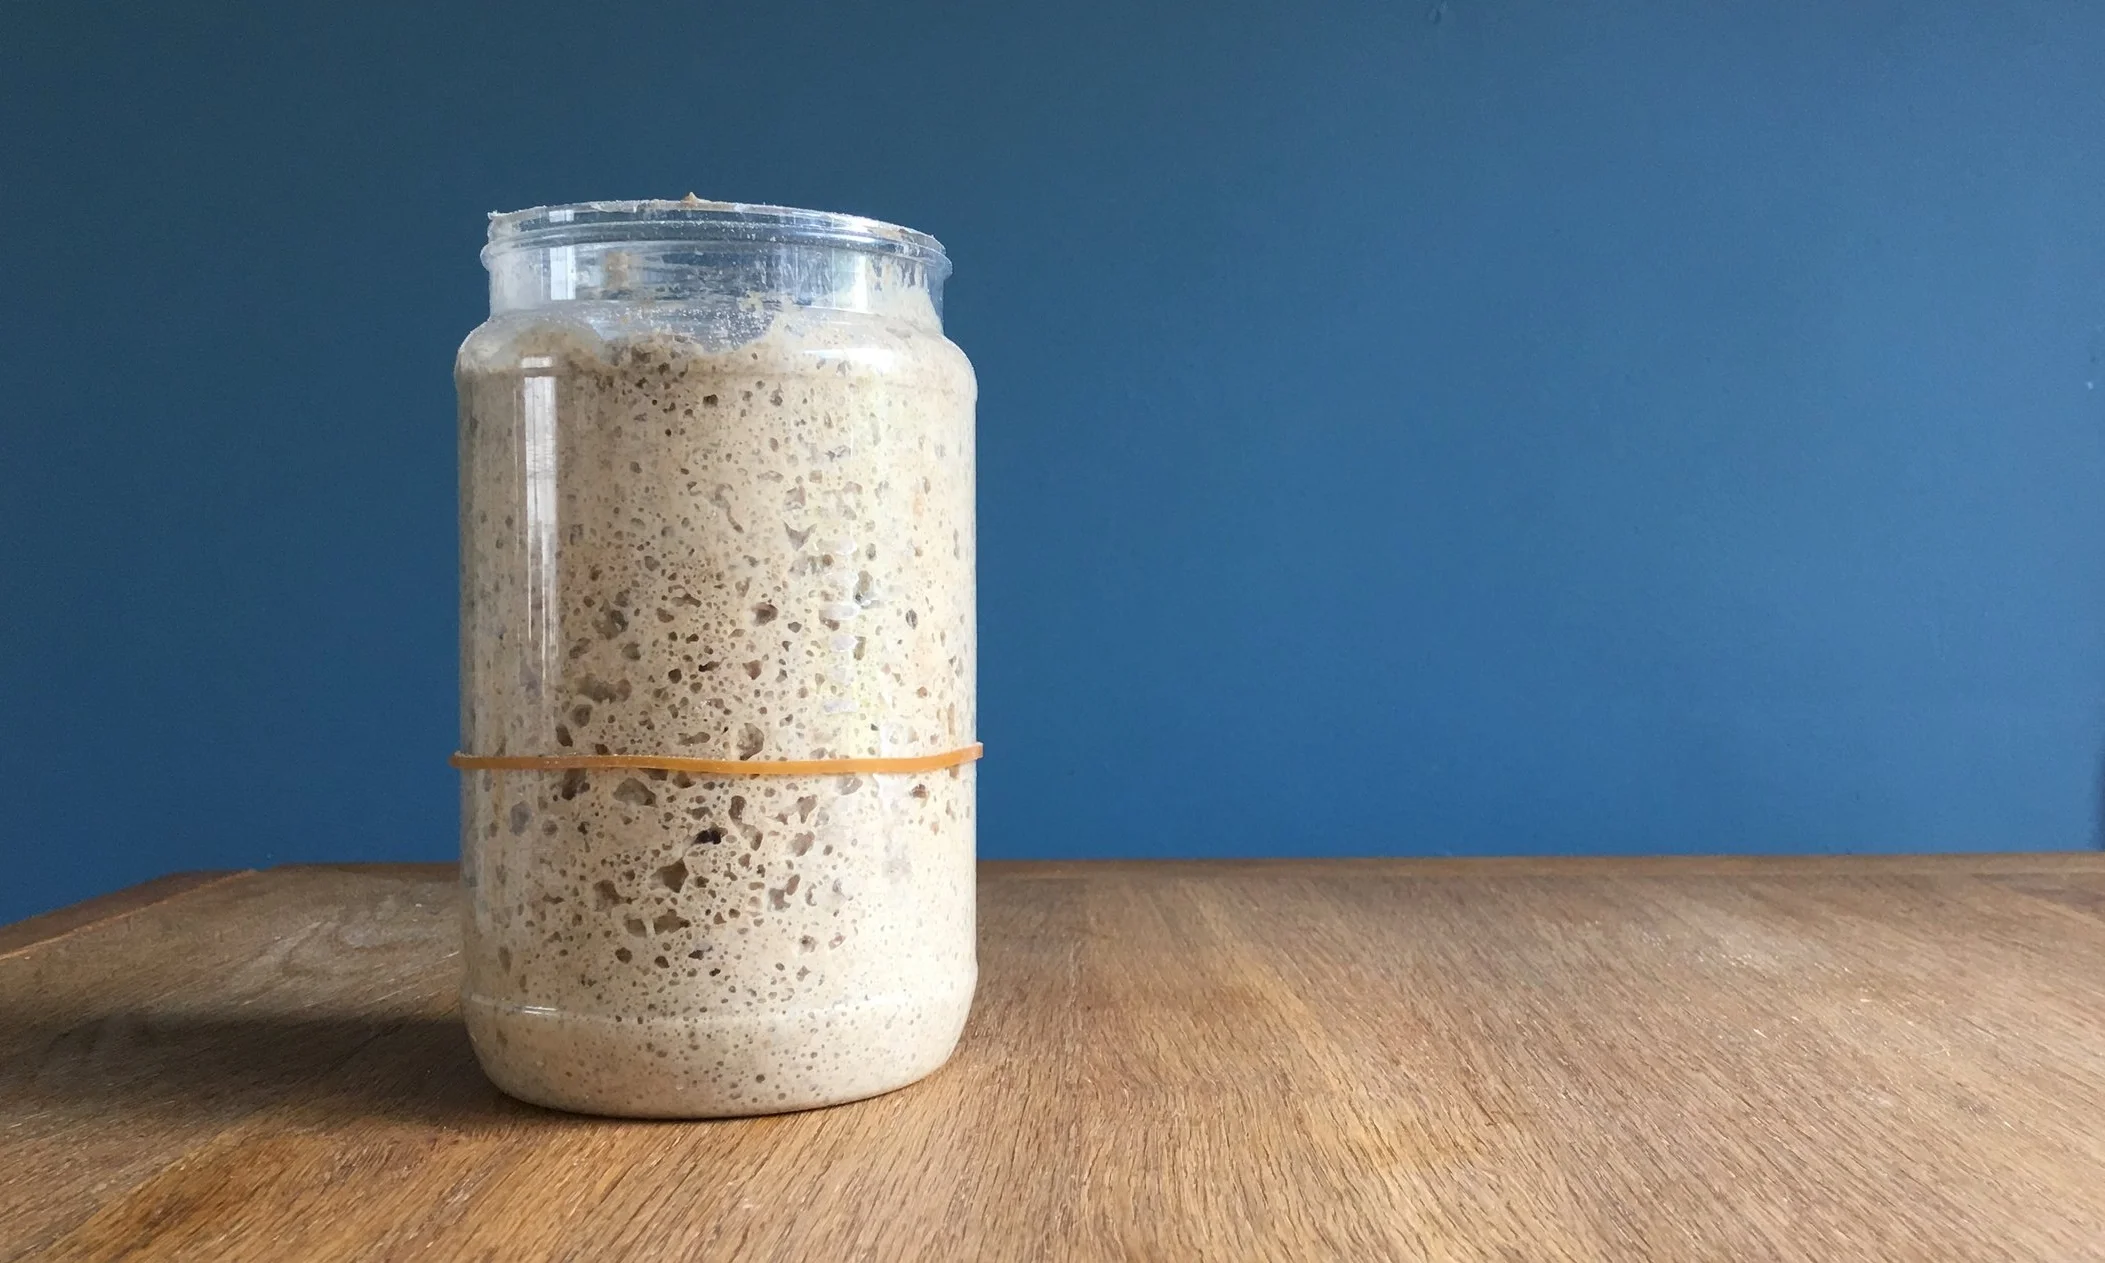
Before you begin you’ll need to have made a Rye sourdough starter. However, the photograph below (as lovely as it looks) is a little deceiving, since you won’t need anywhere near that amount. Don’t expect it to look like the one in the picture…
Difficulty: Tricky
My Kitchen Temperature: 22°C/72°F
Start to finish: 36 hours (Don’t be afraid, actual working time is minimal)
Quick Timing Guide
Day 1 : 2 minutes
Feed up your starter in the evening
Day 2: 5 Hours
Mix your Dough, 1 hour rest
1st Fold (12-16 folds), 1 hour rest
2nd Fold (6-8 folds), 1 hour rest
3rd Fold (6-8 folds), 1 hour rest
Pre-shape, 1 hour rest
Final shape, into basket, refrigerate
Day 3: 1-1.5 hours
Bake
Ingredients
Day 1
Sourdough Starter Scrapings in your Pot
50g Wholemeal Rye Flour
50g Room Temperature Water
Day 2
100g Excited sourdough starter from above (take this from your pot and leave the scrapings for next time)
225g Wholemeal bread flour
225g Strong white bread flour
325g Room temperature water
8g Salt
Method
Day 1 - Feeding your starter
The day before you want to make your dough, you’ll need to feed up your starter scrapings.
1. Into your starter pot add 50g of room temperature water, and 50g of Wholemeal Rye flour and mix together well. Scrape down the edges to level off the mixture and mark on the side of the pot with a pen or elastic band where the mixture comes up to.
2. Leave this on your kitchen side at room temperature overnight or for 8-12 hours and it will bubble and increase in volume. If it’s been a while since you baked (two weeks or more) your starter might get a little sleepy in there and require a couple of feeds to get it excited again.
3. The following morning your starter should have produced gas and increased in volume. You’re good to go.
Day 2 - Making your dough
1. Take 100g of your starter out of the pot and put in in a large bowl, put your scraping pot in the fridge for next time. Add the water flour and salt and mix it together into a dough with your dough scraper. Mix for a minute or so to make sure everything is combined. Let this mixture rest and soak for 60 minutes.
First Fold
2. Spray the work surface with water, and the top of your dough. Turn the dough out onto the wet surface upside down. Work around the dough pinching a piece with your finger and thumb, stretching it out and folding it back over the dough making a ball. Around 12-16 folds should be enough. Roll the dough back over, smooth side up, return it to the bowl, spray the top with water, cover with a clean cloth and leave to rest for 1 hour at room temperature.
Second Fold
3. After the dough has rested it should have puffed up slightly already. Spray the table and dough again with water. Turn the dough out and reshape into a ball. 6-8 stretches and folds should be enough this time, roll the dough over with the smooth side on top and tuck everything underneath with your hands. Return the dough to the bowl for a further 1 hour.
Third Fold
4. After the dough has rested for this second time there should be clear signs of the dough rising, Stretch and fold the dough once more exactly like the last time, and return the dough to the bowl to rest for 1 hour.
Pre-shape
5. This time after resting it’s time to pre-shape the dough. Dust your surface with flour, turn out your dough upside down onto the surface. If you have doubled the recipe to make two loaves, divide it into two at this point with the flat side of your dough scraper. Shape the dough into a ball really quite tight without tearing it. Rest on the side for 1 hour covered with a cloth.

Sourdough Gear
Get everything you need
Final Shape
6. In the final shaping the aim is to create a tight structure without degassing the dough too much. So be delicate with the folds but still creating tension. Dust your work surface with a little flour, slide your dough scraper underneath and turn the dough upside down onto a lightly dusted surface. Let it relax into a circle. Your final shape is exactly the same as the stretch and folds in terms of the motion. However, this time be conscious of creating the tension you need with a delicate touch. The surface needs to hold the shape without being heavy handed and losing the gas inside.
Pick up the side edges one by one, stretching out very slightly and folding over the dough, one over the top of the other. Roll the dough from the top edge towards you into a sausage and stick it onto the sticky patch closest to you, pinching the seam to stick in place. When you are done, dust it well with flour, and dust a round banneton basket too. Place the dough in the basket upside down (seam side up).
Final Rest
7. At this stage rest your dough in the fridge uncovered to prove nice and slowly overnight.
Day 3 - Baking your loaf

Dutch Oven
1. Preheat your dutch oven in the oven at 220°C fan/428°F/gas mark 8 for 40 minutes or so. Remove your dough from the fridge and turn it out onto a Silicon Sourdough Sling or piece of parchment paper.
2. Score the top with a grignette, lift and lower it into the bottom of the dutch oven. Spray with a couple of bursts of water and pop the lid on. Place it back in the oven.
3. Bake for 20 minutes lid on, then remove the lid and bake for a further 20 minutes lid off.
4. Transfer from the pot to a cooling rack and allow to cool completely before slicing.
Stone Baking
1. When you are ready to bake, preheat the oven to 220°C fan/428°F/gas mark 8 with a baking stone on the middle shelf and a deep tray on the bottom for 40 minutes. Boil the kettle too.
2. Remove your dough from the fridge turn out the loaf out onto a floured peel, score the top with a grignette and slide it onto the baking stone. Pour the hot water from the kettle into the tray to create steam and shut the door.
3. Bake for 40 minutes.
4. Allow to cool completely on a wire rack before slicing.